Last updated: May 30, 2023 21:40:52
Create Custom Animations
In this guide we will explain the basic steps to adding animations to your objects.
Table of contents
Creating a prefab
First, you will need a prefab that has been added to your project which you want to animate. Then we will need a empty game object, which will hold the animation controller. Lastly, we will need a object that we want to animate. For this guide we will use the standard cube.
Important: The name of the object that you want to animate has to end with “_Animated”. Otherwise the object will not be animated when loaded into the game.
This means your hierarchy should look something like this:
MyFirstAnimatedObject       (Empty)
    AnimationController     (Empty)
        Cube_Animated       (Cube)
Adding the animation controller
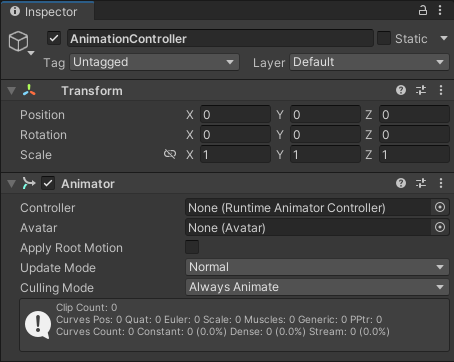
Now we can add an animation controller to the AnimationController game object. We use a empty game object, so that we can animate all objects that are inside it. To add a animation control op the object and on the inspector add a new component:
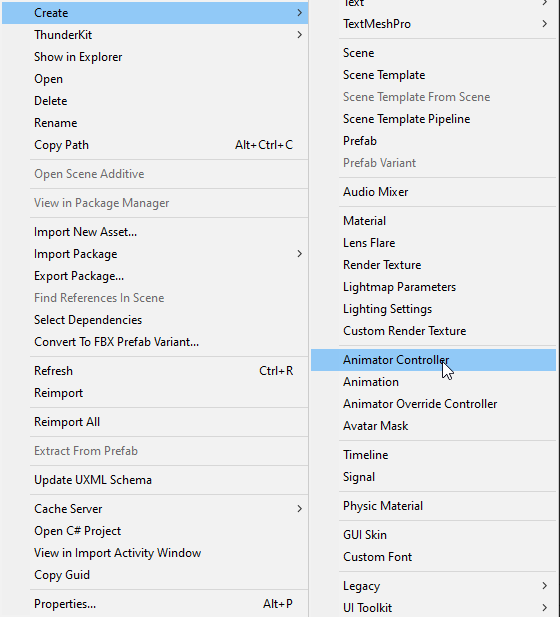
Next, we want to add a animator object to the animation controller. To do this, right-click inside your folder and under create select “animation controller”.
Now add the animation controller that we just created to the AnimationController object by dragging into the box. Now the AnimationController object should look something like this:

Creating an animation
Before we can add an animation to the object, we have to make an animation object. Do the same as for the animation controller, right-click and under create select animation. Then double click to open.

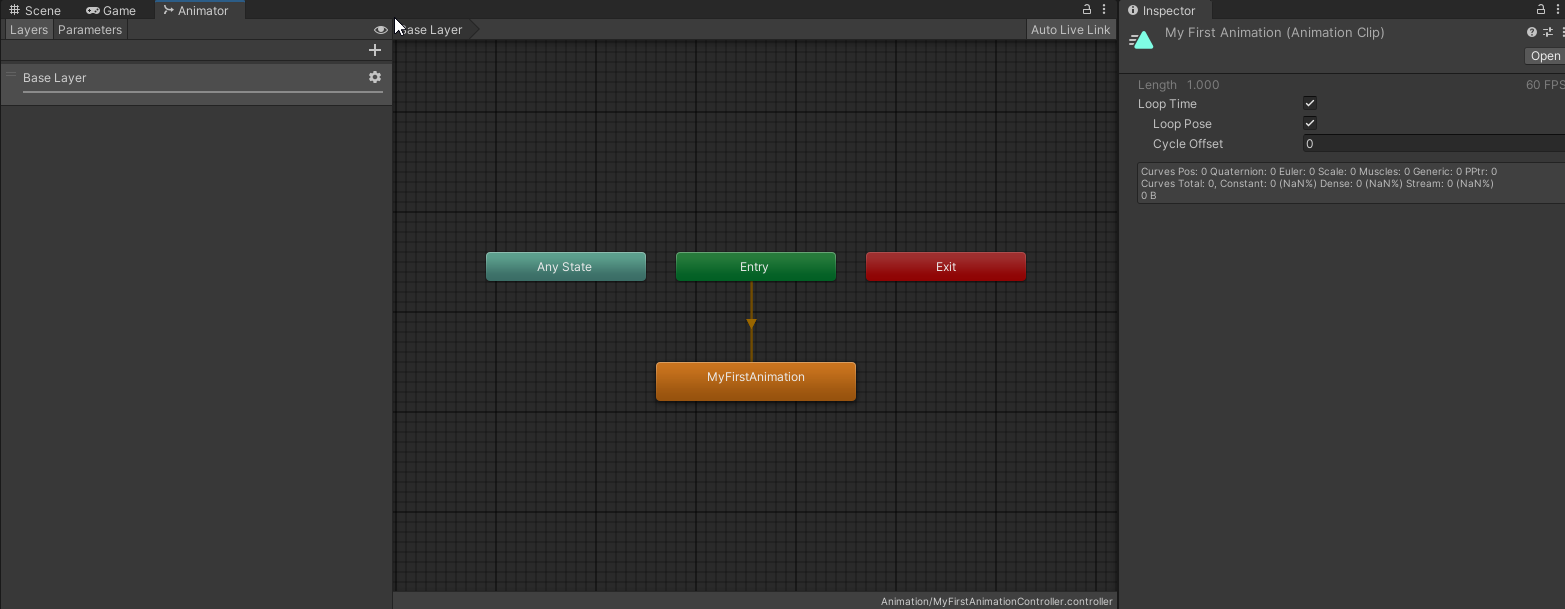
We then have to add this animation in the animation controller. Double click the animation controller to open and drag the animation into the window. The animation automatically connects to the entry state. This means that when the object is loaded, it will always play this animation. Now double click on the animation in the animator window. For this guide we want the animation to loop, so select both boxes, after which it should like the following:
Note: You can use the layers to give objects inside a prefab different animations. For example the windGauge uses this to, as the rotor will continue to move even when the wind-direction doesn’t change.
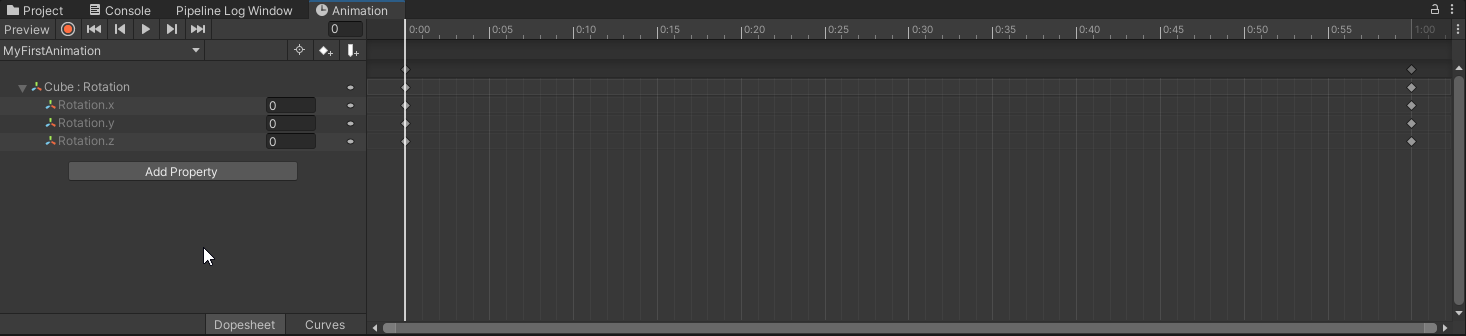
Now we can start animating! To do this select the AnimationController object and open the animation window. After which you need to select Add Property –> Cube –> Transform –> Rotation. Now you should have something like this:
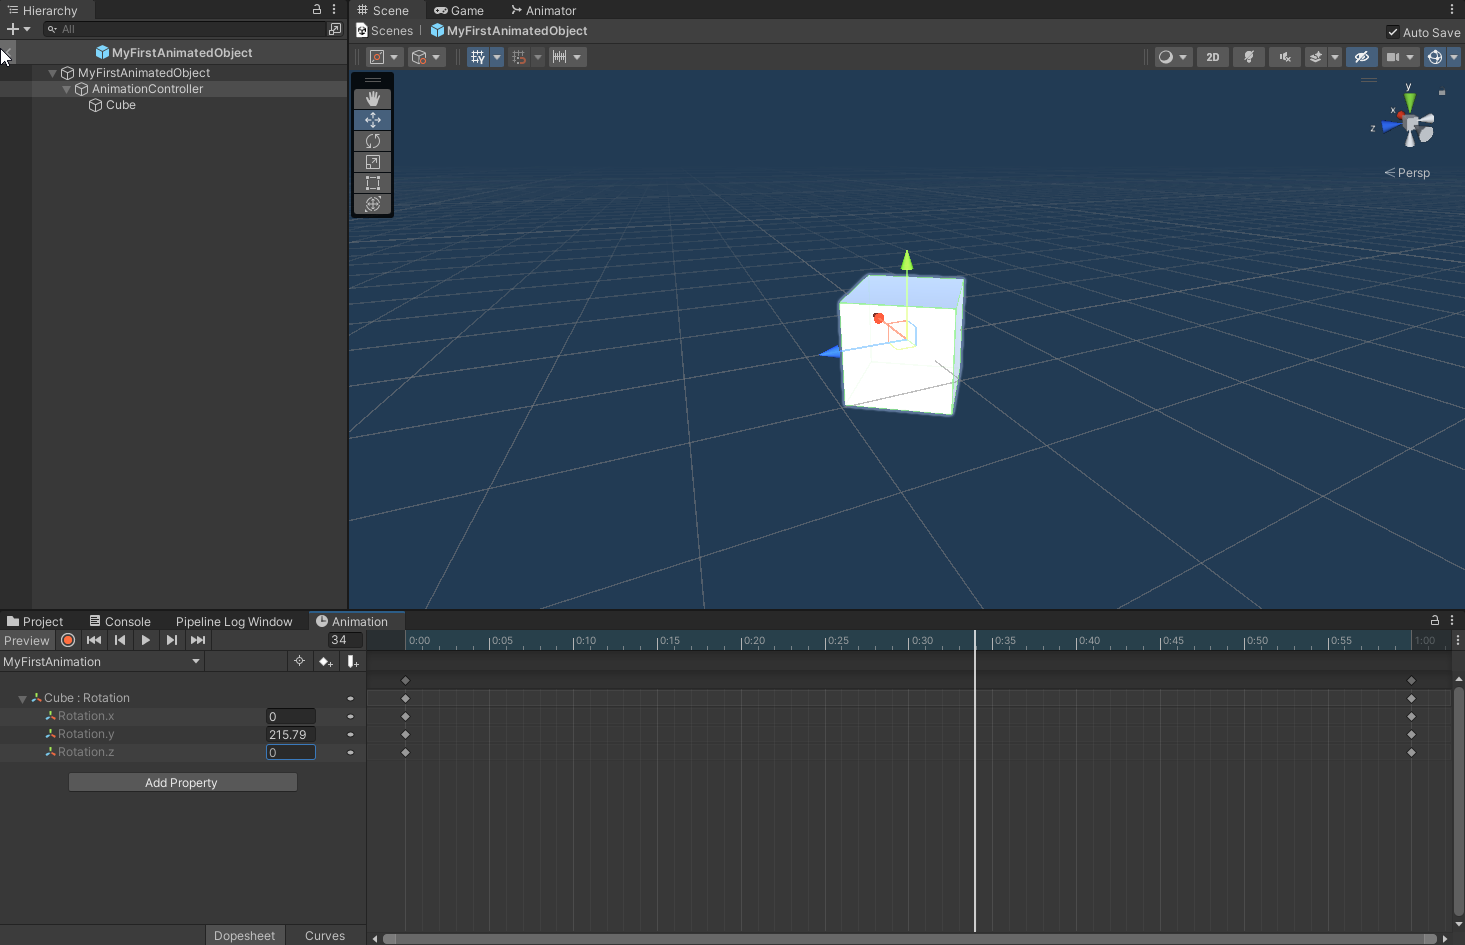
As we only want to rotate the cube, we leave the start the same. Select the end by clicking on 1:00. Now we can select which axes we want the cube to rotate around. We will go with the y-axis. We fill in 360 (degrees). If we select play, we will see the cube rotating!
Adding logic
Sadly, because Timberborn is a little bit different, we have to add some code to make it actually rotate. You will have to add a component to the main prefab with the following code:
using UnityEngine;

public class MyFirstAnimationScript : MonoBehaviour
{
    private Animator _animator;
    void Start()
    {
        _animator = GetComponentInChildren<Animator>(true);
        _animator.speed = 1.0f;
    }
}
You should now have it a working cube!